The first space you’ll want to get acquainted with in this section is the File Manager.
The File Manager allows you to manage all of your site’s files directly with HTTP instead of having to use an FTP tool or other third-party app.
Click on the “File Manager” icon to be taken to this screen:
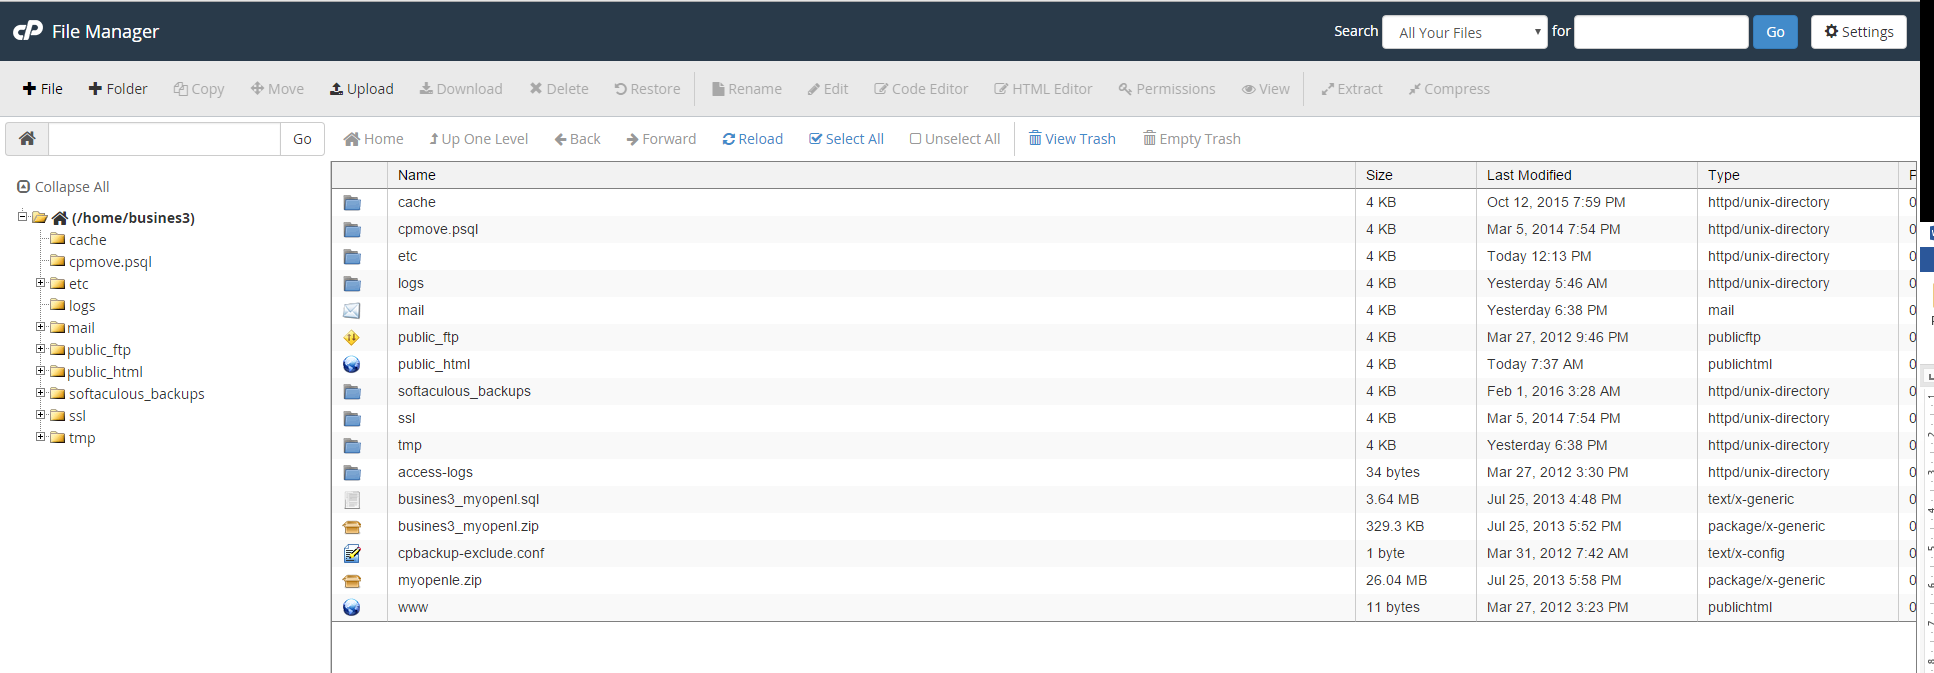
This is where all of your site’s files are stored, so you’ll want to proceed with EXTREME caution when making changes here.
There are a couple of quick things to point out on this screen. First, along the left you’ll find the root folder and sub-folders, shown below:
Root Folder
Sub-Folders
Then, in the middle of the screen, you’ll see the contents of whatever folder you have selected (including that folder’s sub-folders and files).
Sub-folders & Files
Selected Folder
Knowing this, here are a few things you might want to do:
Create a New Folder
Folders help you keep all of your files organized, making your site’s structure easier to understand and maintenance much more straightforward.
To create a new folder, simply locate and click the “+ Folder” button along the top menu, as shown below:

You’ll then be asked to name your new folder and enter the destination where the folder will be created.
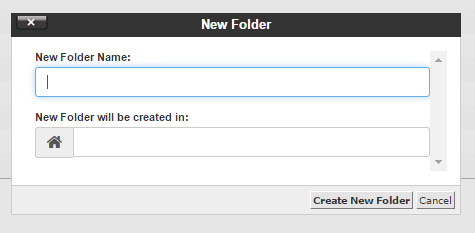
When you’re done, click “Create New Folder”, and you’re set!
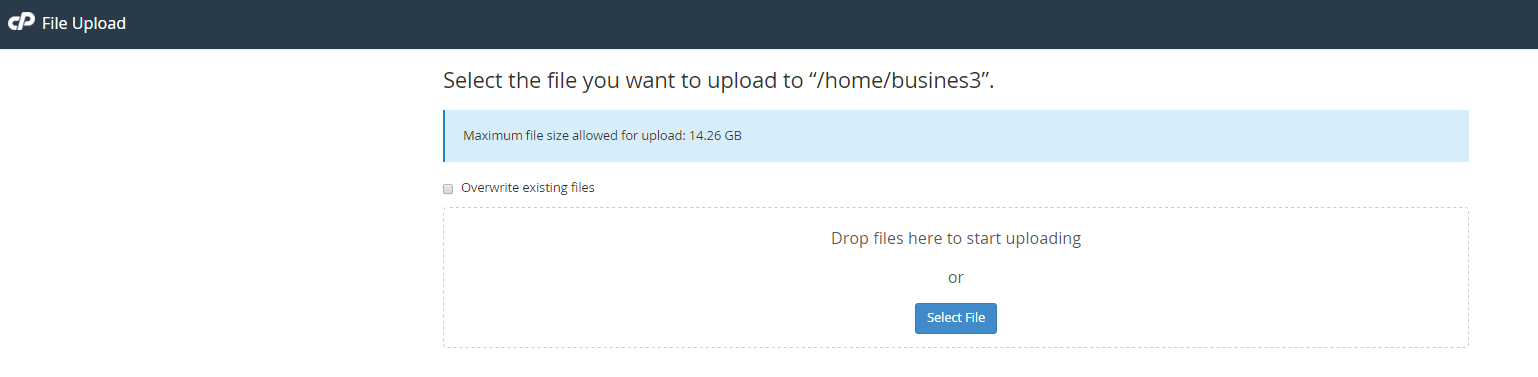
Uploading a File Using File Manager
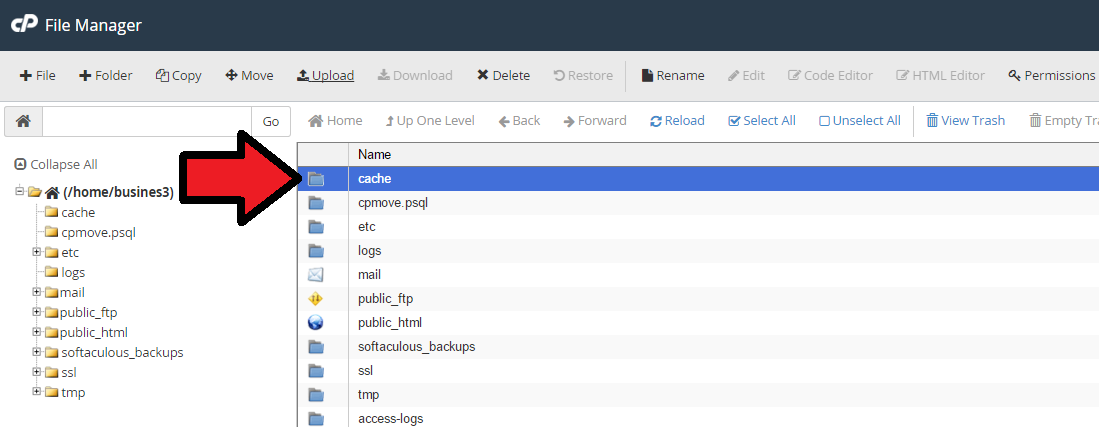
To add a file – for example, a word document you want people to be able to download, or an image you want to use on your site – you’ll first need to click on the folder you want to upload to.
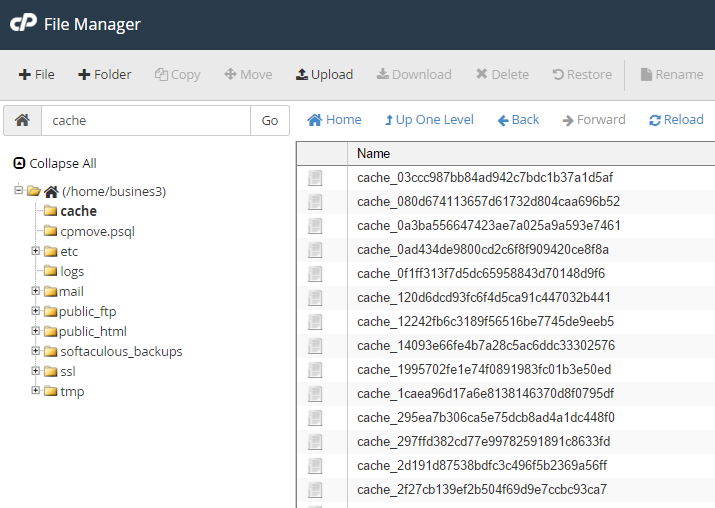
For example, in the image below, I’ve selected “cache”.
Then, click on the “Upload” tab as shown below:
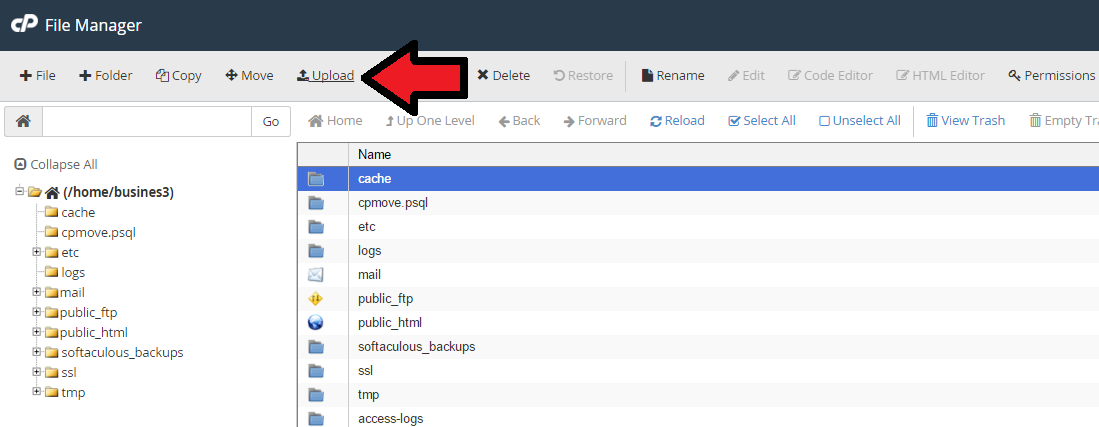
From there, you’ll be asked to drag and drop the file you want to upload, or simply select the file.